
Windows 11 just passed its first birthday and with it Microsoft released the second major feature update. Here are a few highlights that I borrowed from Ask Woody, a tech online newsletter.
This is a long post so you can jump to something that looks interesting by clicking on one of the short cuts here but I encourage you to read the whole thing. You might be surprised by something. I also say, try them all out! That’s how we learn and it develops in you a desire for continual learning, which is just coming faster and faster. Keeping up with the small increments is a way to not get buried by having to learn a lot of things later.
- Use Clipchamp to edit a video
- Open windows using File Explorer tab
- View and manage OneDrive in File Explorer
- Start a Focus session from the clock
- Dictate text and commands using Voice access
- Create Start menu folders
- Customize your Start menu space
Use Clipchamp to edit a video
Microsoft’s new built-in video editing software is here!
Those of you who want to edit videos without spending money on a pricey editing program may want to try Microsoft’s Clipchamp. Available in both free and paid editions, the free version is a bare-bones program, compared with dedicated third-party video editors. But it should suffice if you simply want to spruce up a video taken with your smartphone. Clipchamp has been available for Windows 10 and 11 for a while, but it required you to manually download and install it from the Microsoft Store. With the 22H2 update, the app is built into Windows 11.
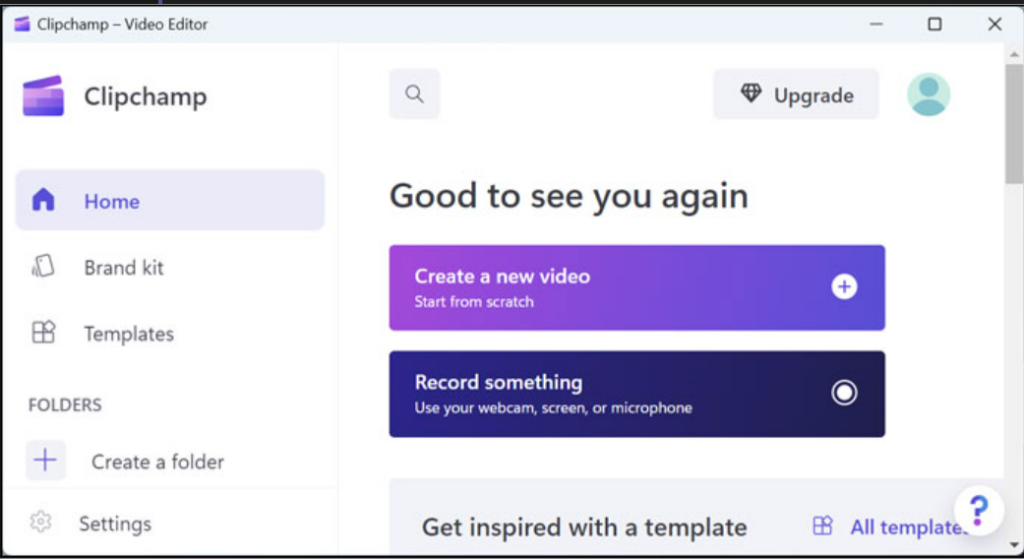
Open Clipchamp from the Start menu or All Apps screen. You can create a video from scratch, record a video using your webcam or Windows screen, or import an existing video.
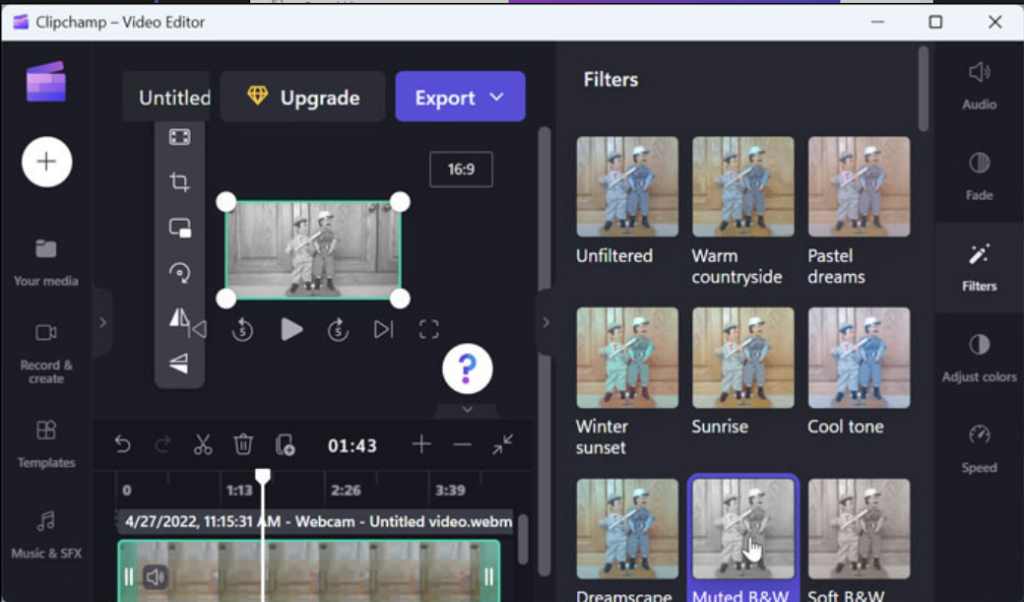
From there, you’re able to perform most of the basic video-editing commands. You can trim and split your clip, adjust the colors, add filters, lay on an audio track, and apply certain effects. When you’re done, just export the video and choose the resolution. Your video is then saved as an MP4 file.
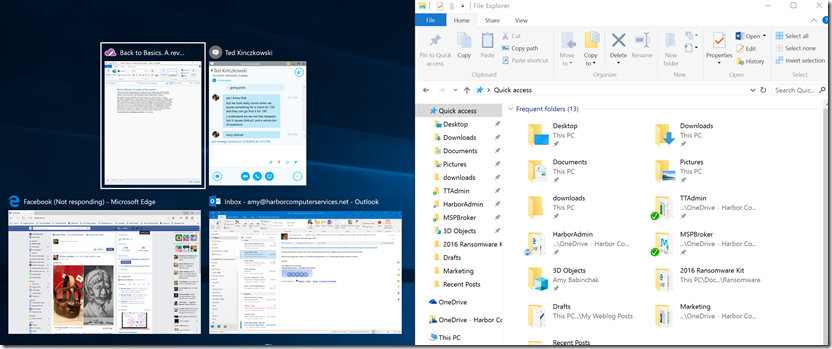
Using File Explorer tabs
File Explorer is an old staple and most people have come to love it. Now you can keep multiple things open by using tabs insides of File Explorer.
To try this out, open File Explorer. By default, the current tab points to your This PC location, with your hard drive and network locations visible. To open another tab, click the plus sign (+) to the right of the last tab and then, within that tab, navigate to a different location. Click + again to jump to a third location. You may also use the Ctrl+T keyboard shortcut to open a new tab.
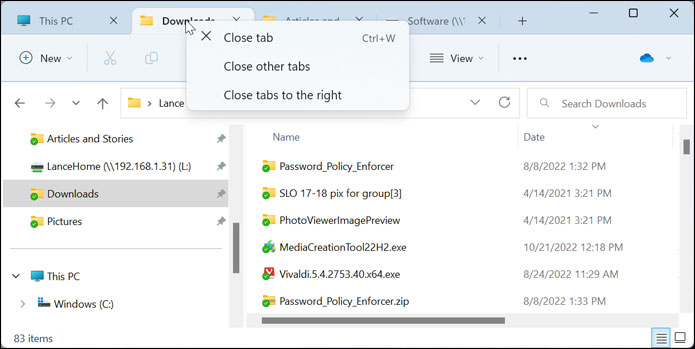
To close a tab, you can click its X icon, right-click the tab and select Close tab from the context menu — or use the keyboard shortcut Ctrl+W. To close all the tabs except your current one, right-click it and select Close other tabs. To close all the tabs to the right of your current tab, right-click it and select Close tabs to the right. Beyond switching from one tab to another, you can drag and drop folders and files from one to another.
As with Windows 10, the shortcut Ctrl+N opens a new File Explorer window, not a new tab. And, also like Windows 10, the tab in the new window opens to the same location displayed in the active tab. However, the shortcut Ctrl+T in the window does not open the new tab to the same location but rather to one of the locations specified by folder options.
View and manage OneDrive in File Explorer
There is an interesting change in File Explorer that you’ll find helpful. First, you’re able to modify the default startup location in File Explorer so that your OneDrive folder appears first. To do this, open File Explorer. Click the ellipsis icon on the toolbar and select Options. Click the dropdown menu for Open File Explorer to and change it to your OneDrive folder. The next time you open File Explorer, your OneDrive folder will be the first thing you see.

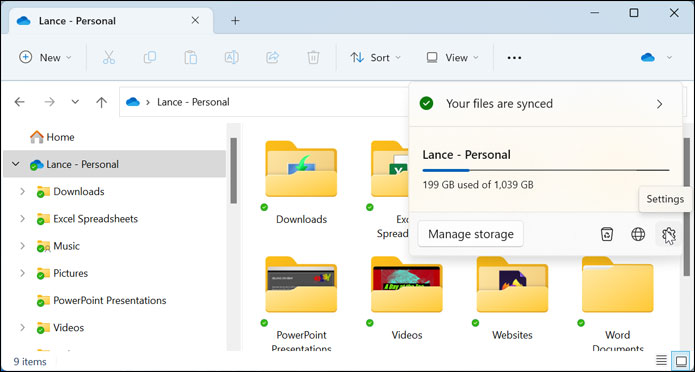
Next, you can view and manage your OneDrive storage options directly from File Explorer. Click the parent folder for your OneDrive storage. On the right end of the toolbar, click the down arrow next to the cloud icon. The dropdown dialog shows you the status of your synced files and how much space you’re using on OneDrive. Several other icons are available to let you manage your storage, access your OneDrive Recycle Bin, view your OneDrive files online, and configure your OneDrive settings.
Start a Focus session from the clock
Arguably my favorite feature of Windows 10 is now even better in Windows 11. Windows 10 and 11 both offer you the ability to trigger a Focus session, which puts your PC into Do Not Disturb mode to shield you from notifications and other interruptions and distractions. With the 22H2 update, you can more easily kick off a Focus session directly from the clock. Click the clock in the lower-right corner of the System Tray, and you’ll see a Focus button at the bottom of the calendar. Use the plus and minus signs surrounding the number of minutes to set the amount of time you want Focus mode to be in effect. Then just click the Focus button. A timer appears on your desktop, showing you the countdown.

You might even want to try keeping your computer in focus mode all of the time and only coming out of it on those breaks to check email and notifications.
Dictate text and commands using Voice access
Some of our clients are heavy users of voice dictation in Windows. It’s works incredibly well these days. But it required an internet connection. Now it doesn’t.
In both Windows 10 and 11, you’re able to dictate text and commands using different voice recognition features. New with Windows 11 22H2 is an option called Voice access, which lets you control your PC and dictate text via your voice without an Internet connection. To set this up, go to Settings | Accessibility | Speech. Turn on the switch for Voice access. The Voice access toolbar appears at the top of the screen. If you want Voice access to automatically launch when Windows loads, check the box for Start voice access after you sign into your PC.
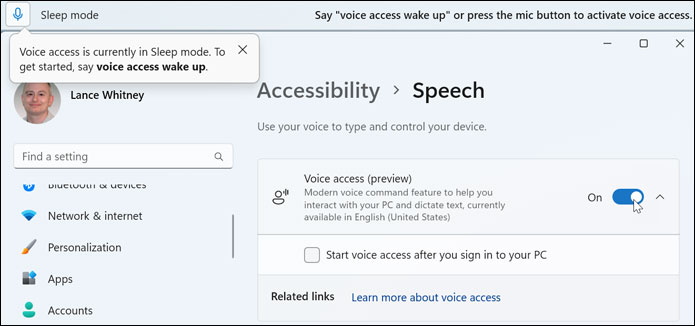
To control Windows with your voice, click the Sleep mode icon on the toolbar so that it tells you that it’s listening. To see which commands you can issue by voice, say: “What can I say?” A voice access guide pops up to show you the different commands.

Not sure what to say when voice access is enabled? Just say: “What can I say?”
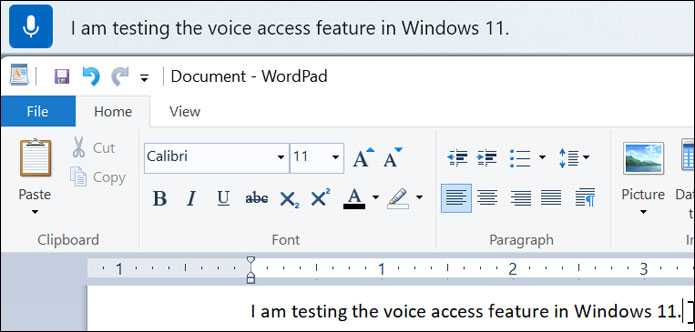
To dictate text, open any app that allows text. Then just start dictating.
Create Start menu folders
I’ve gotten away from using the start menu at all. Instead just preferring to put icons for the apps I use on my taskbar. But if you’re still a menu person, then you’ll like this new bit of organization. These new options are probably already familiar to you. You’ll find them simiar to how you organize apps on your phone.
In Windows 10, you can create Start menu folders to house and organize related apps. The purpose is to help you free up space in the menu and reduce the number of icons just floating about randomly. The initial version of Windows 11 lacked this capability, but the 22H2 update has revived it.
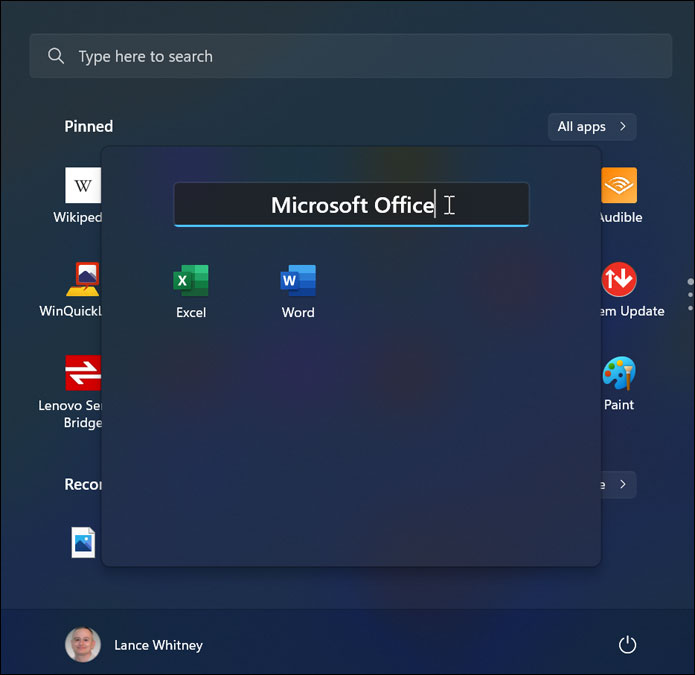
To set this up, find two apps that you’d like to place into the same folder. Drag and drop one icon on top of the other.

The two apps are placed into a folder with the generic name “Folder.” Click the folder to open it. Click in the Edit name field and type a new name for the folder. Click anywhere outside the folder to close it and confirm the new name.
Add more apps by dragging and dropping them on top of the folder. Open a folder, and you can drag and drop its icons to sort them the way you want. Set up more folders by using the same process. After you’re done, you’re able to move your new folders around the Start menu, just as you can an individual.
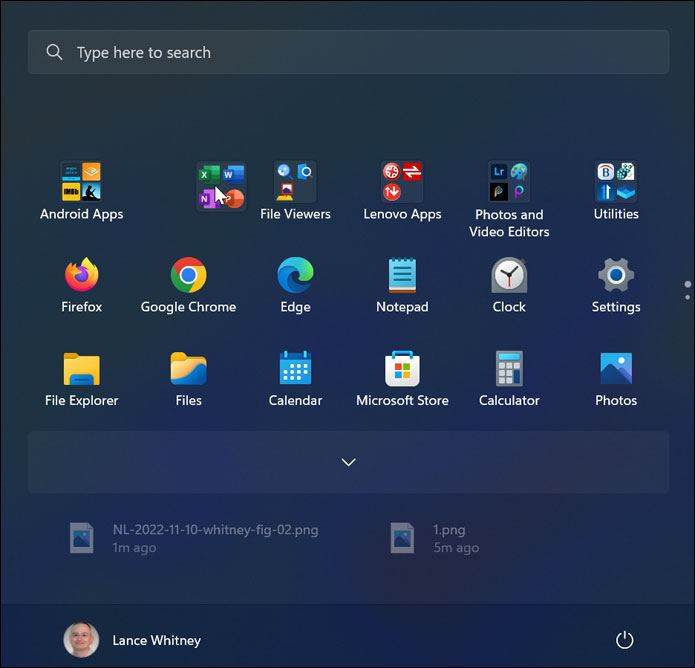
Move your folders around the Start menu to arrange them in your preferred order
Customize your Start menu space
If you’re not much of a menu user, then perhaps consider changing the menu to more suggestions. Suggestions will help you get back to what you were recently working on quicker.
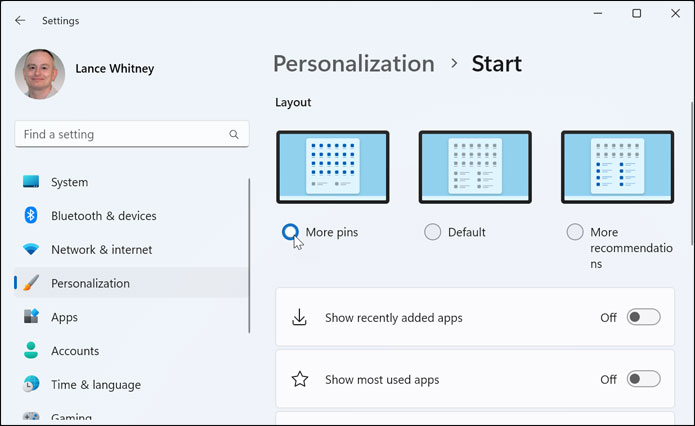
By default, the Start menu shows both pinned apps and recommended apps. With the initial version of Windows 11, there was no way to customize how much space to devote to each of these two categories. The 22H2 update lets you tweak the real estate on the Start menu to better control how it’s allocated.
Go to Settings | Personalization | Start. The Layout section at the top displays three types of configurations. The first one devotes more space to pinned apps and less to recommended ones. The second one is the default that tries to maintain a balance between the two types. And the third one grants more space to recommended apps and less to pinned ones. Choose the layout that works best for you (Figure 4).
These major feature updates only occur twice a year. If you don’t see them yet, be sure to install the updates to your computer when they are offered. That should have happened already. If it hasn’t, please ask you tech for assistance.
Harbor Computer Services is an IT firm servicing Southeastern Michigan and beyond. We work exclusively under contract with our clients to provide technology direction and either become the IT department or provide assistance to the internal IT they already have. We win awards! Recently we were recognized in the gratitude category for our corporate culture by dBusiness magazine.
There are a few simple things that make Harbor Computer Services the best choice for your business. •We are Professionals •We are Responsible •We care about your business

