
Have you ever searched for a Command of one of your Office apps and when you finally find it, wonder how you will ever find it again when you need it? The frustration is real!
A wonderful solution to this problem is the Quick Access Toolbar.
Where is the Quick Access Toolbar?
The Quick Access Toolbar is located at the very top of most of your Office 365 apps. Word, Excel, PowerPoint, Access, Outlook, and more all have a Quick Access toolbar at the top of the app, and you may have never noticed.
What Can the Quick Access Toolbar do?
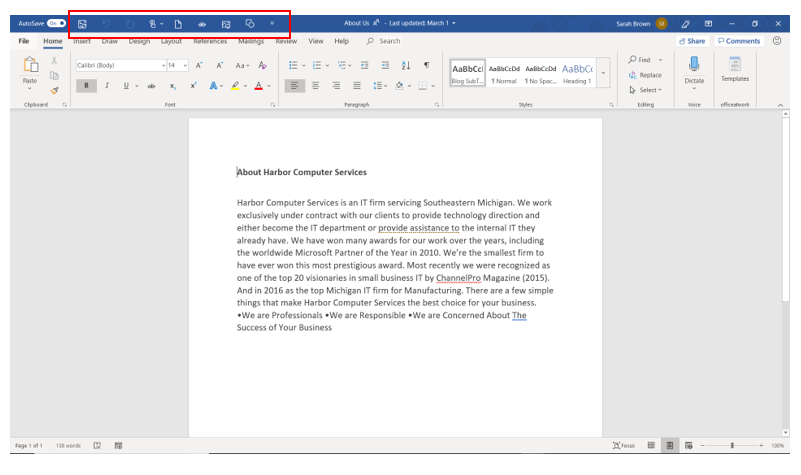
The Quick Access Toolbar is a placeholder for your favorite and most used Commands. Some are built-in, but you can add more! Look at the Quick Access Toolbar below for Microsoft Word.
![]()
By default, there is ‘save’, ‘undo’, and ‘redo’. After those, I have added a few of my personally most-used Commands such as New, Strikethrough, New Picture, and New Shape. This way, I don’t have to go poking around all of the ribbons to find the Command, I just click it at the top in the Quick Access Toolbar.
Similarly, in Microsoft Excel, I like to have Strikethrough, Hide Row, and Delete Row easily accessible for me.
![]()
I have also set my PowerPoint Quick Access Toolbar to use the New Slide, Insert Picture, Start from Beginning, and Start from Current. These are the features that I find myself using a lot when I’m creating a slideshow.
![]()
These are just a few examples, most of you Office 365 apps have a Quick Access Toolbar at your disposal, check them out and see!
How do I add my own Commands?
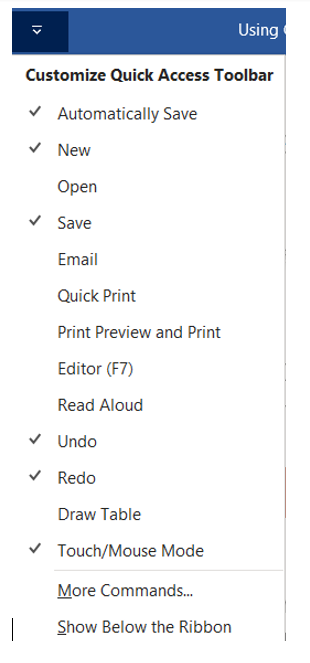
At the right side of the last icon on your Quick Access Toolbar, you will find an icon that looks like this.
![]()
The drop-down menu will show several often-used Commands that you may or may not want to add. Simply click the Command you want and it will now show on the Quick Access Toolbar.
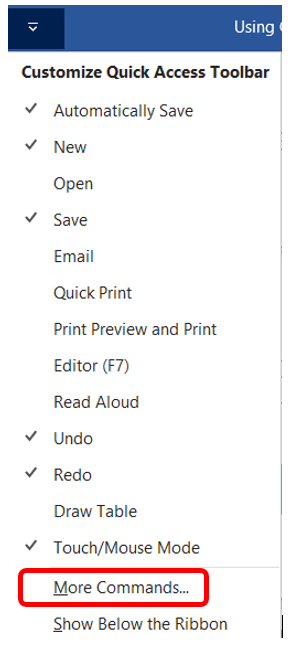
But there are WAY more Commands available.
To see a full list of Commands, click ‘More Commands.’
Then in the ‘Choose commands from’ box, choose ‘All Commands’.
Scroll through the list below that, and highlight the command that you want. Then click the ‘Add>>’ button and then ‘OK’.

Voila!
Your Command is now there to use when you need it. Go ahead and try it, it works like a charm!
About Harbor Computer Services
Harbor Computer Services is an IT firm servicing Southeastern Michigan. We work exclusively under contract with our clients to provide technology direction and either become the IT department or provide assistance to the internal IT they already have. We have won many awards for our work over the years, including the worldwide Microsoft Partner of the Year in 2010. We’re the smallest firm to have ever won this most prestigious award. Most recently we were recognized as one of the top 20 visionaries in small business IT by ChannelPro Magazine (2015). And in 2016 as the top Michigan IT firm for Manufacturing. There are a few simple things that make Harbor Computer Services the best choice for your business. •We are Professionals •We are Responsible •We are Concerned About The Success of Your Business


2 thoughts on “Save Time By Using the Quick Access Toolbar”
Hello . . . I’m a small country pastor . . . attempting to assist a group in using a small windows tablet.
I have searched everywhere I can find . . . no one seems to be able to tell me how to get to the Quick Access Toolbar on my tablet. I specifically want the command “Speak Cells on Enter”.
The group supplies groceries once a month to needy families . . . and they log three items: name, address, and number in the family. I only need 4 cells in Excel . . . name / street address / city, state, zip / number in family.
It would be so easy if we could do this by speaking the information.
If you can assist . . . I would be most grateful . . . as no one else has been able to . . . or stepped up to the plate.
May God bless,
Dwihgt
Dwight – Thanks for the question. Type into the search box at the top of the screen in Excel – Quick Access. This will take you into the box where you can select to display the quick access toolbar as well as select which options you want to show. Be sure to change the list to All Commands and there you’ll find the Speak Cells item for your quick access toolbar.